Quick Start guide
Thank you for choosing Electra One!
Electra One is a powerful and versatile MIDI controller that also functions as a USB host and MIDI USB interface. It is designed to streamline your music production workflow and give you hands-on control of your gear. We are hope Electra One will meet your expectations.
1. Create your Electra One account
Open Chrome or Edge and go to https://app.electra.one/register to create your Electra One account. This account gives you access to the preset library and the preset editor.

2. Connect your Electra One controller to your computer
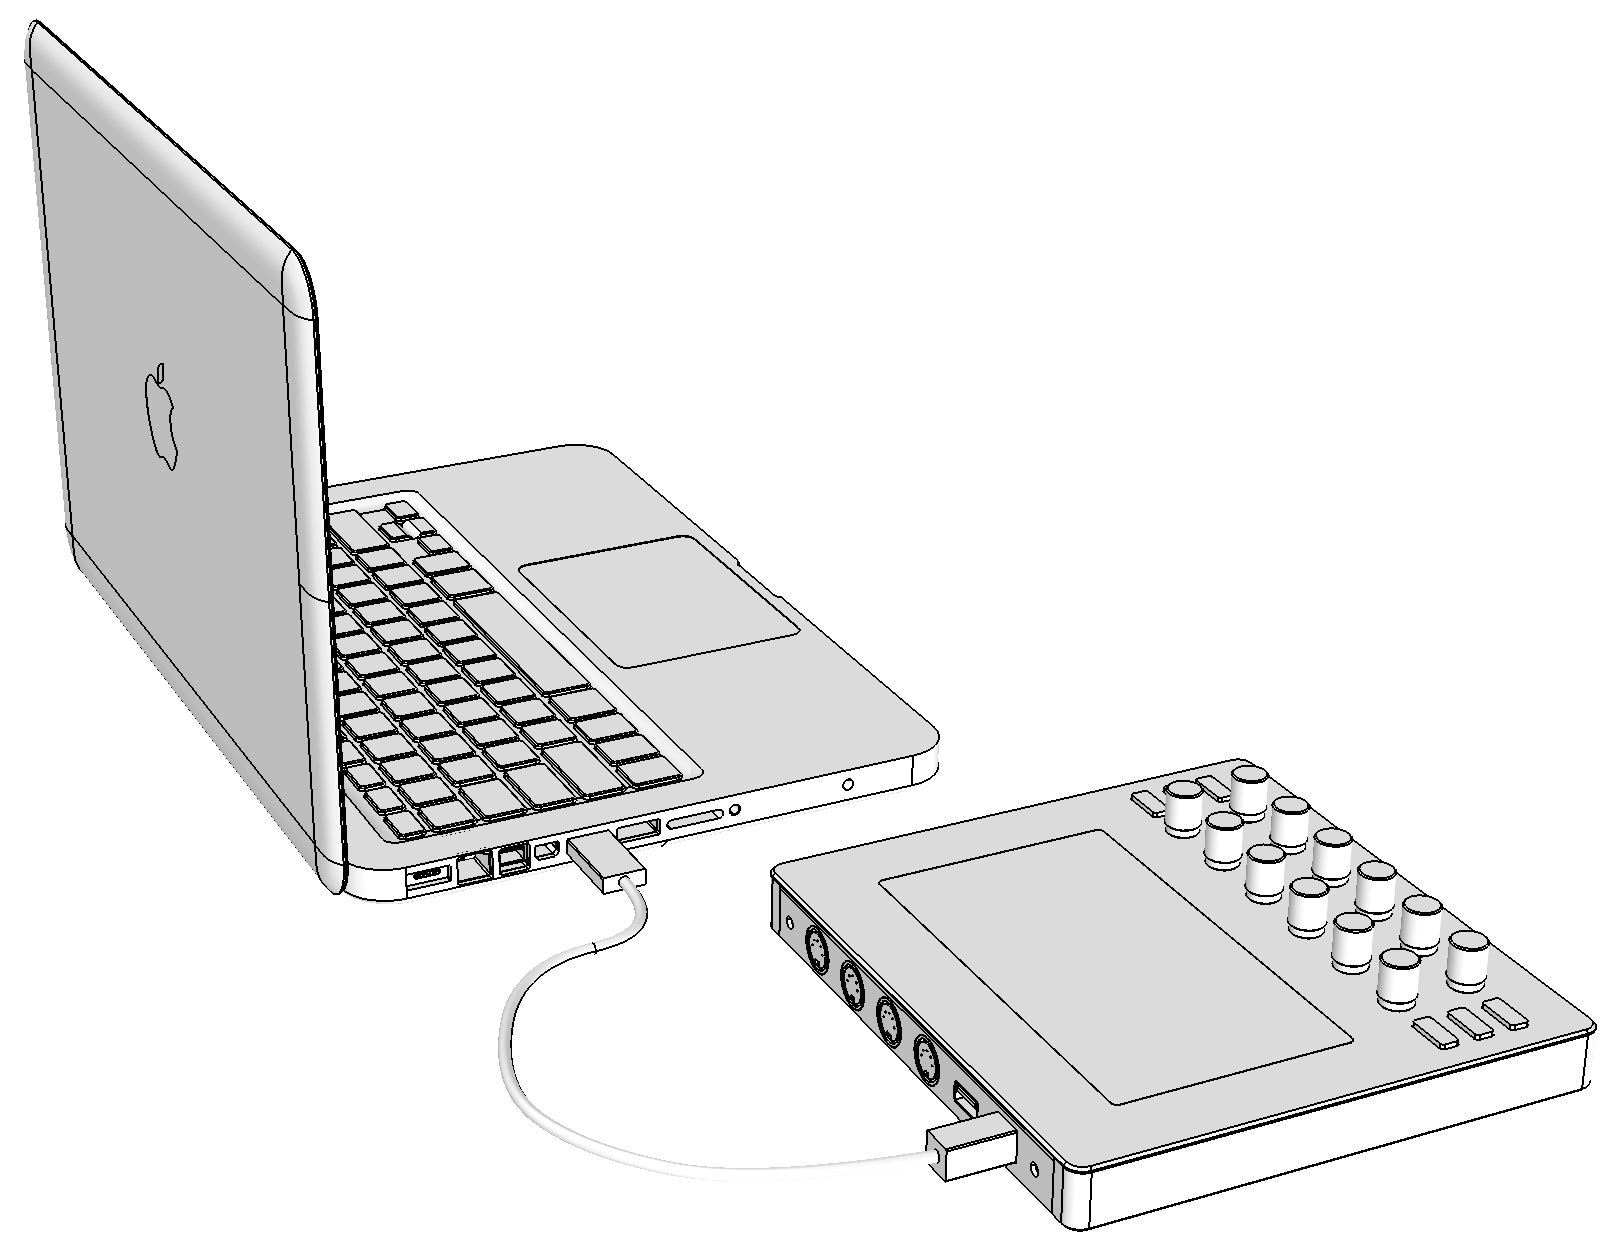
After signing in to your account, use the included USB cable to connect Electra One to a USB port on your computer.
3. Confirm the connection
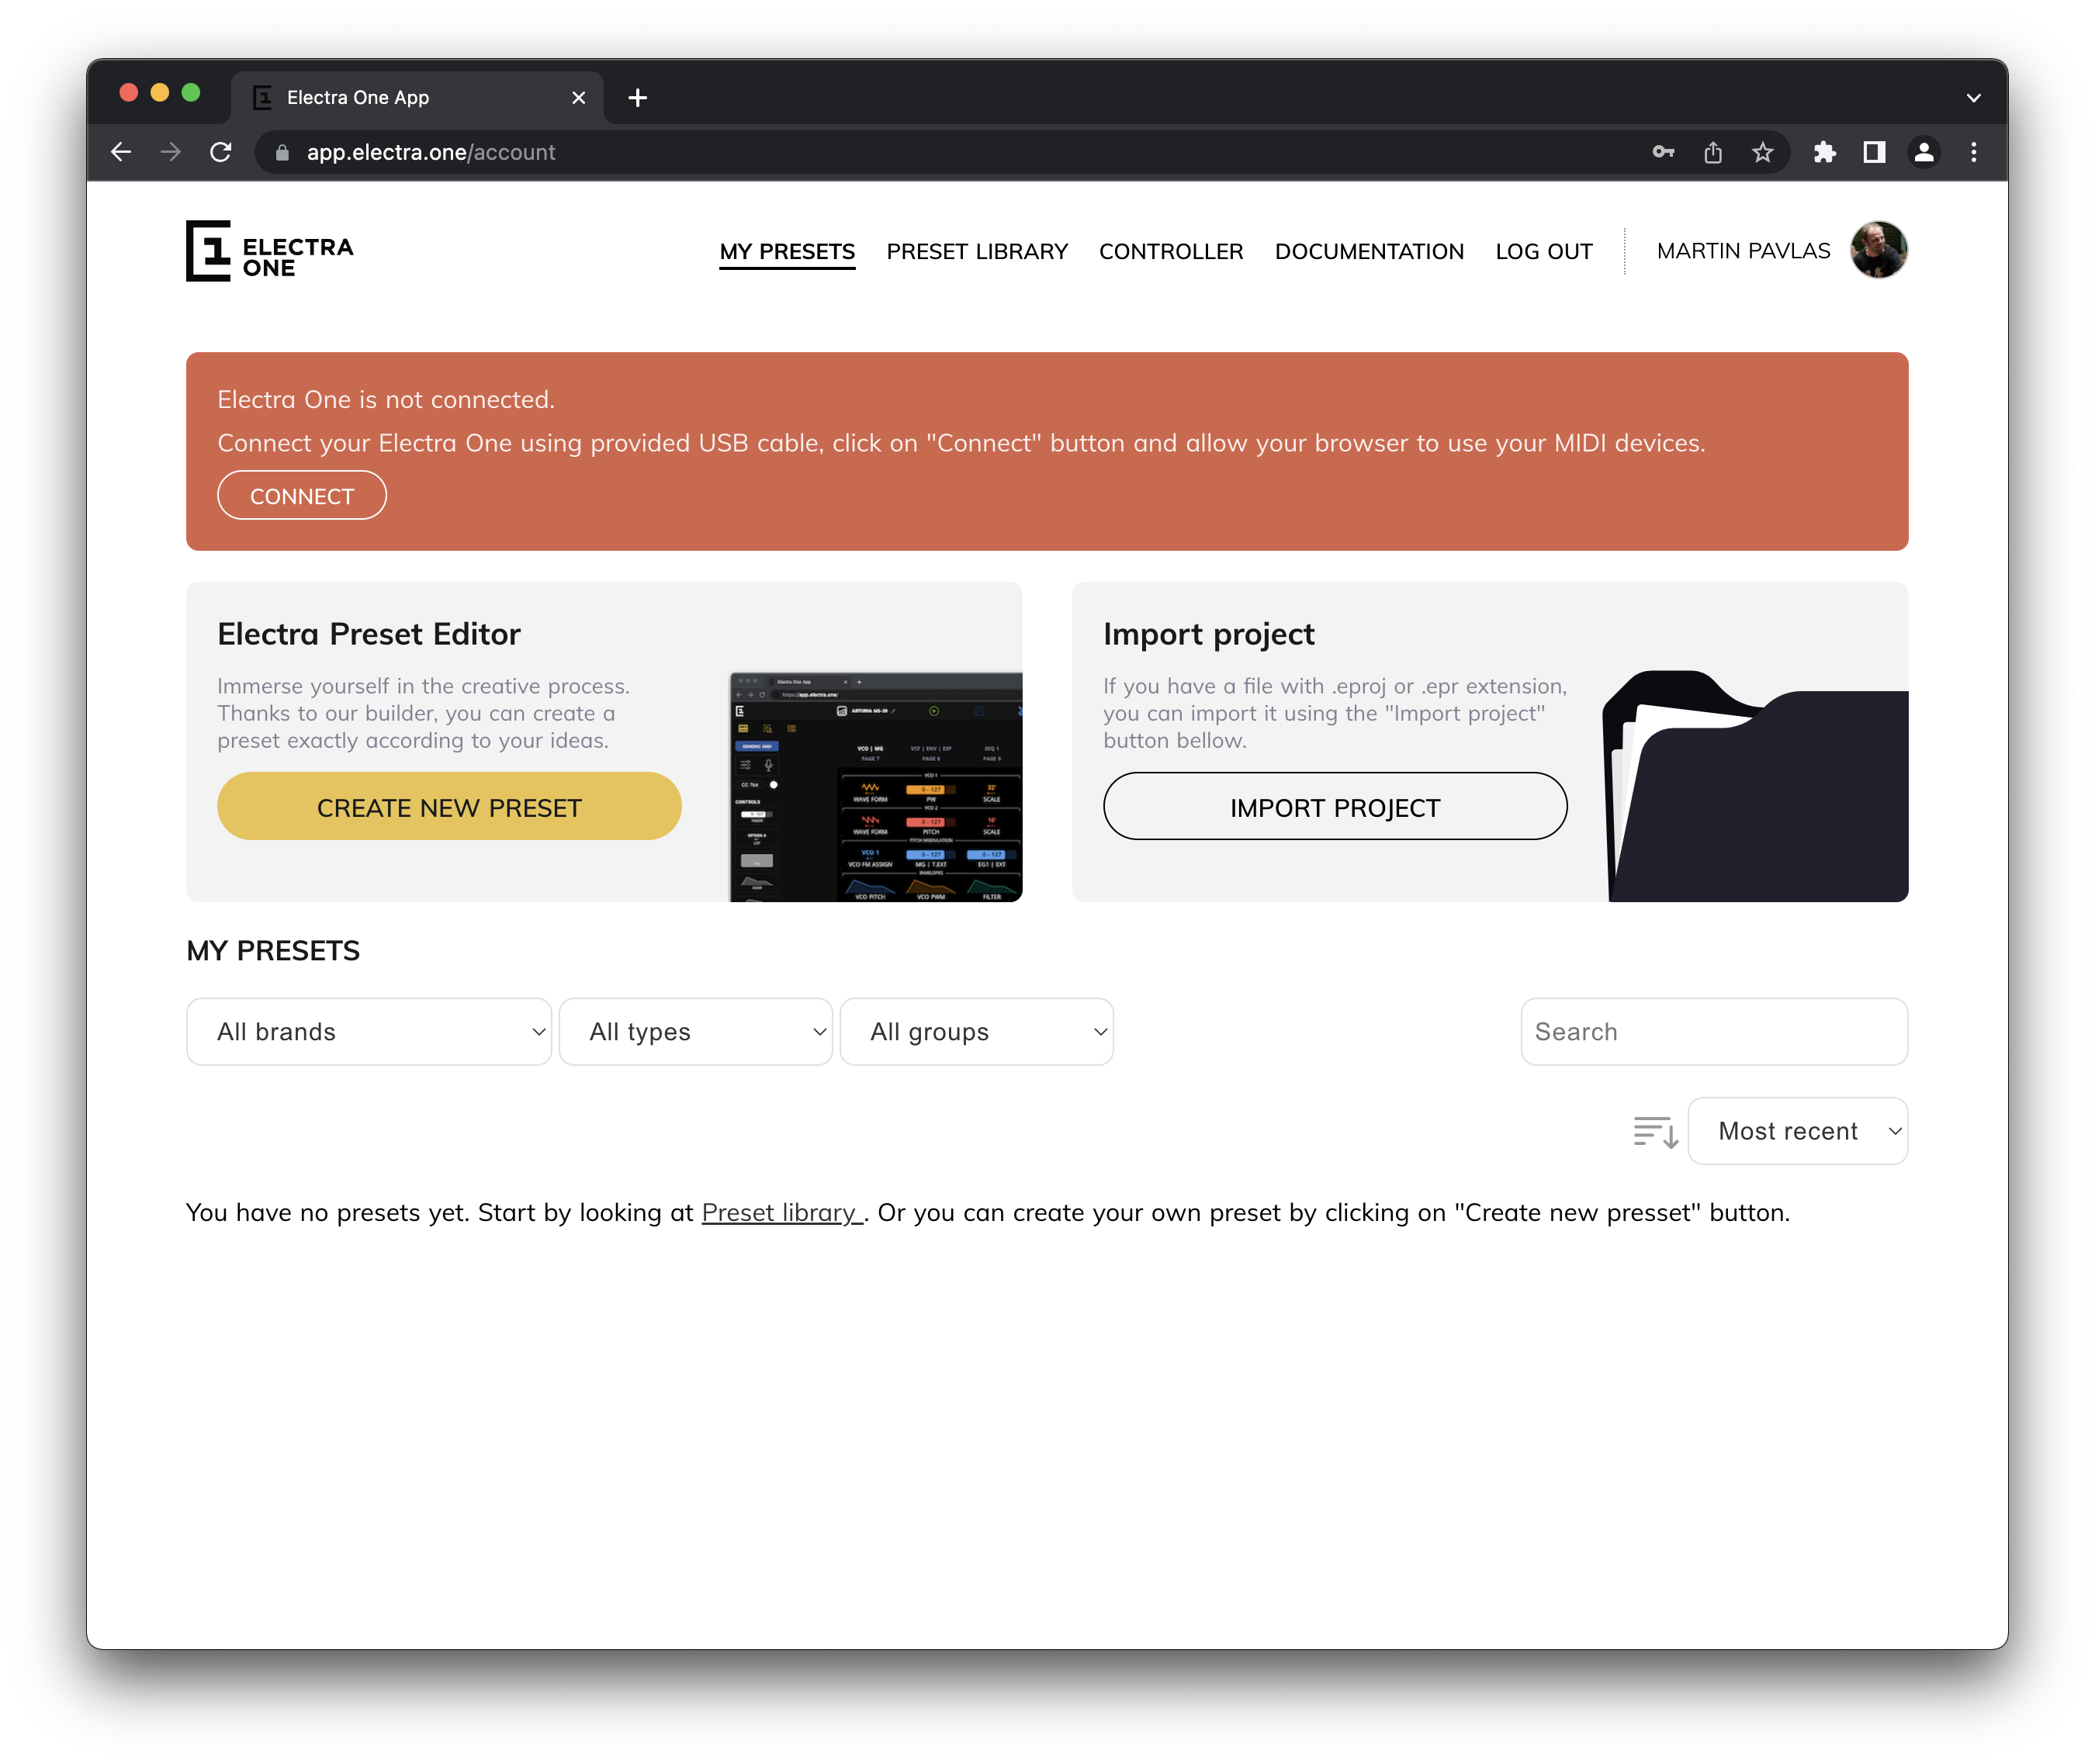
In the web application, click the CONNECT button to confirm that your Electra One controller is properly connected.
4. Allow access to MIDI devices
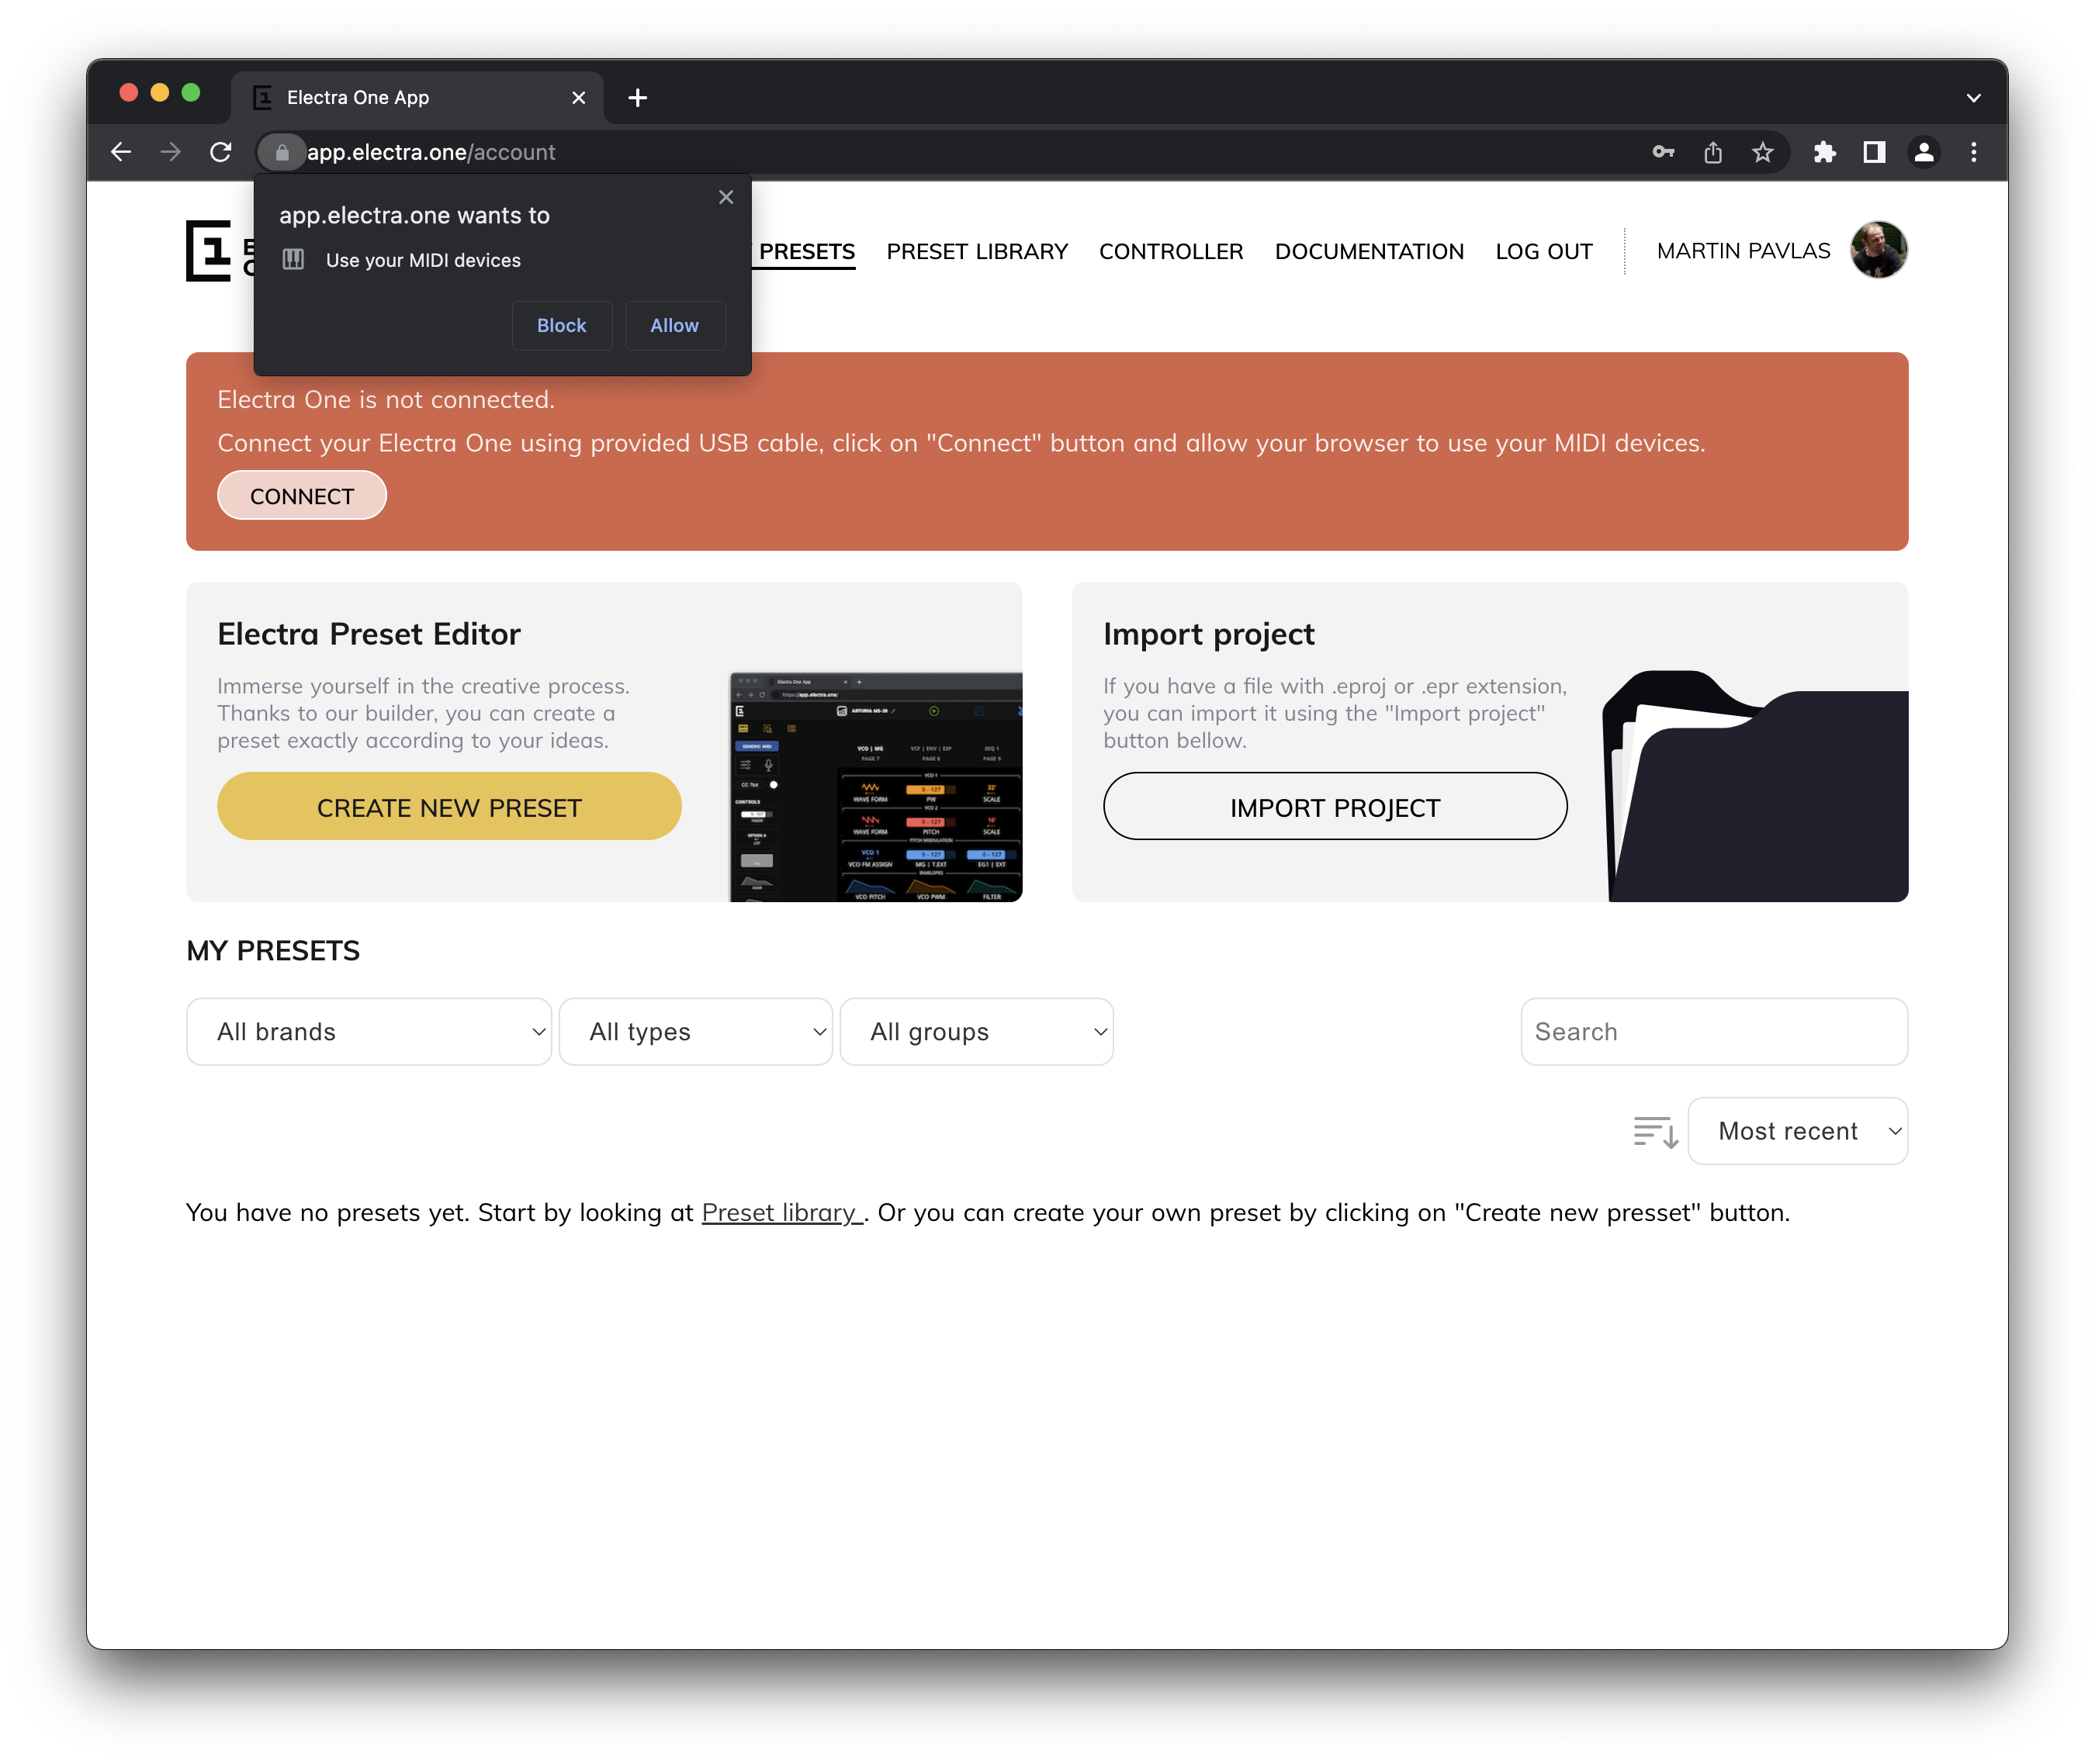
If you get a prompt asking about the use of MIDI devices, accept it by clicking ALLOW button. If the use of MIDI devices is not allowed, Electra One controller will not be able to communicate with the browser application.
5. Your Electra is connected
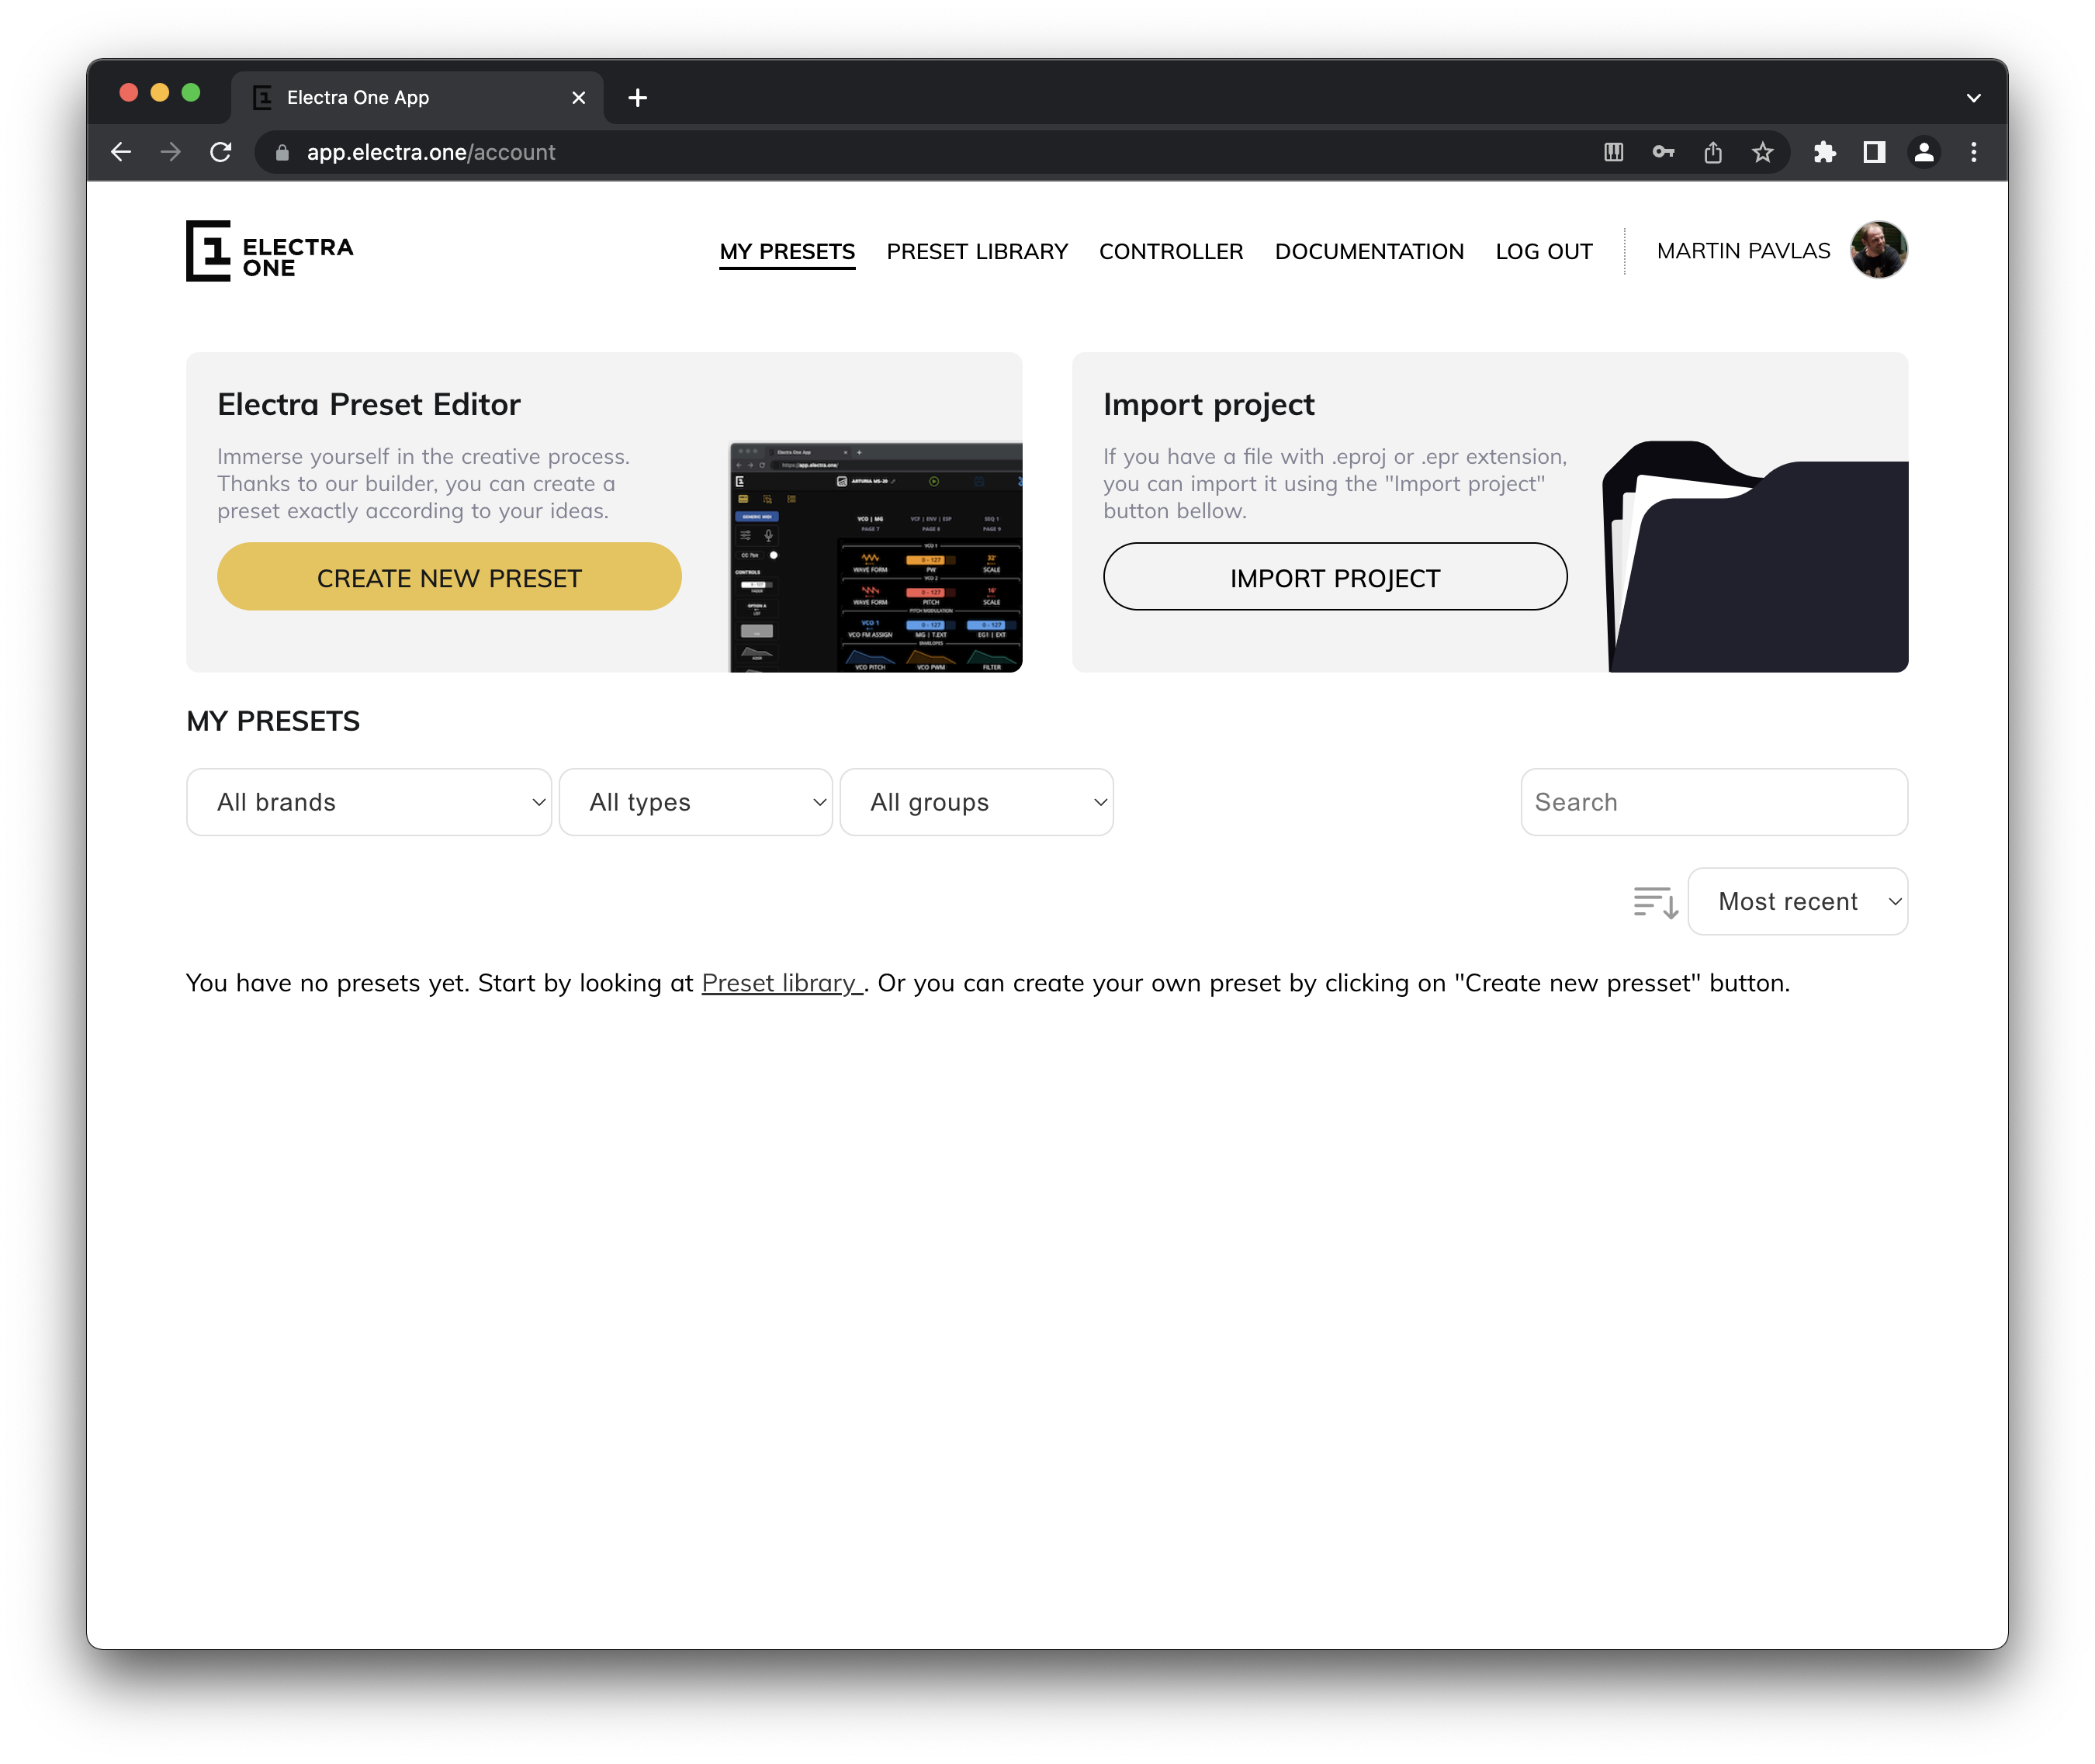
If everything was set up correctly, your Electra One controller is now connected to the preset library and linked to your personal account. If you see any warnings or a port selection screen, please refer to the The Connection Troubleshooting Guide for help.
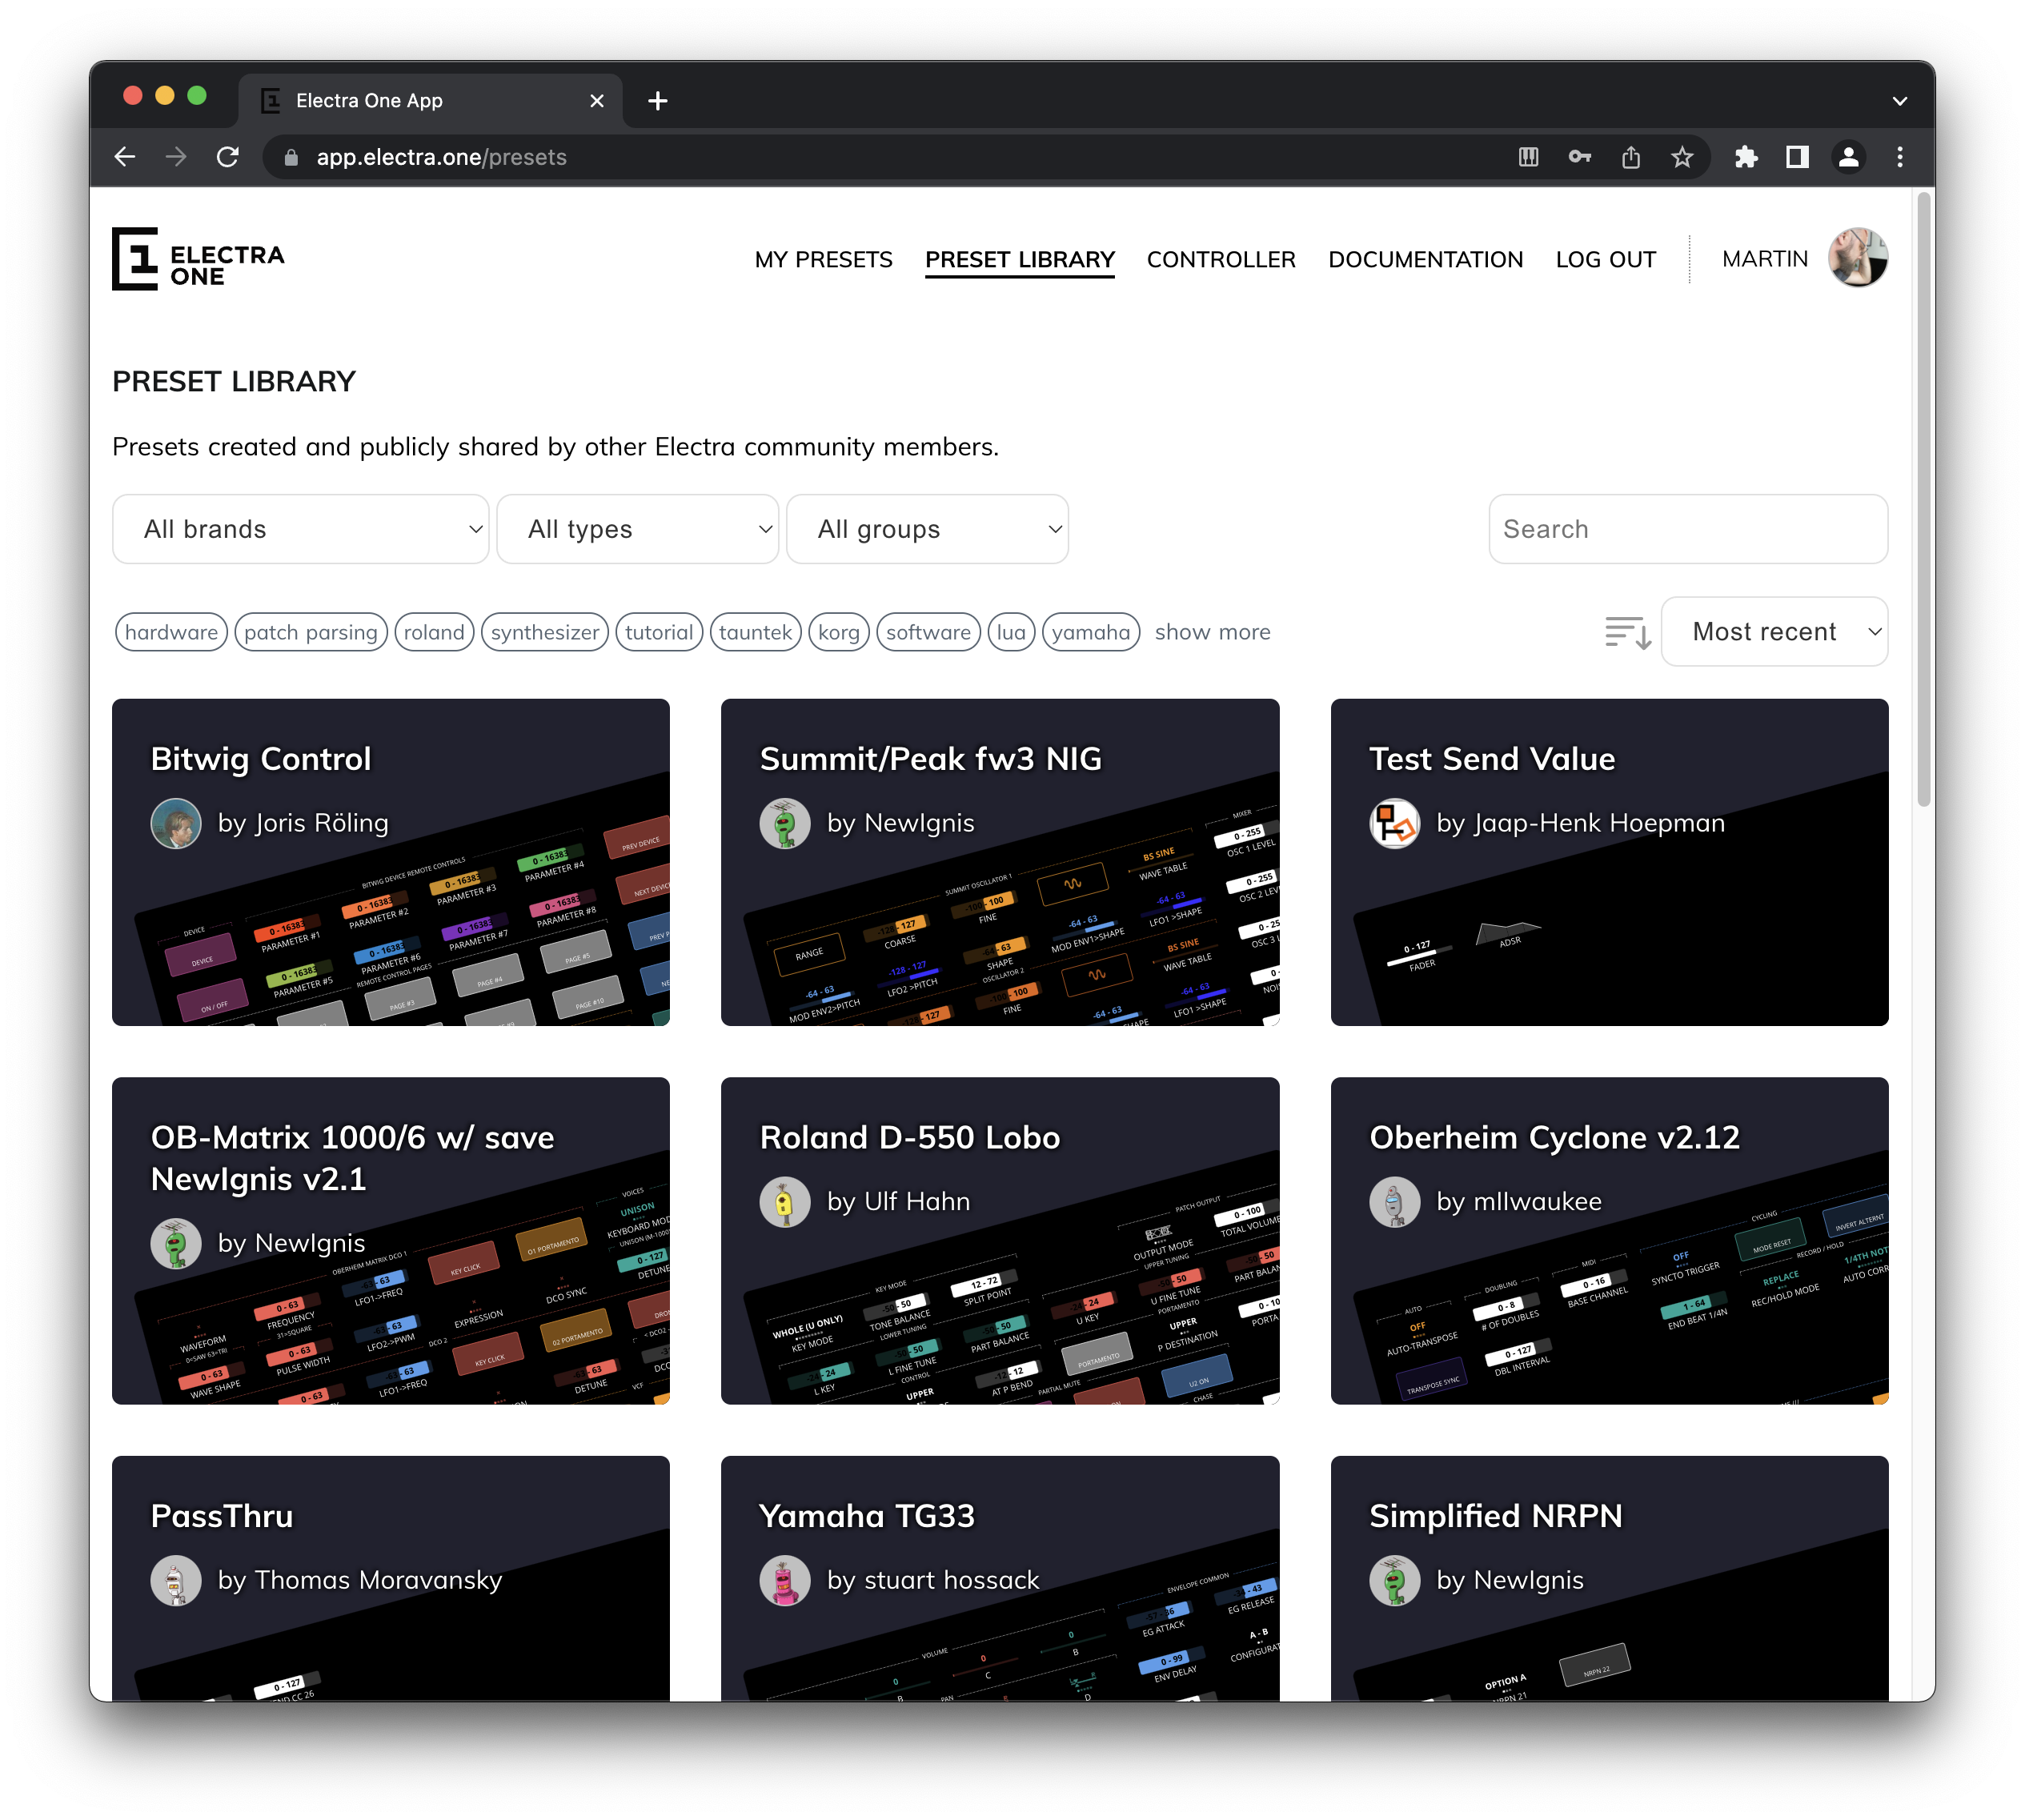
6. Go to the Preset library
Click on the PRESET LIBRARY link in the top menu and browse the available presets. Choose one you’d like to upload to your Electra One controller.
7. Send the preset to your Electra One
Hit the SEND TO ELECTRA button. Et voilà! The preset is now loaded on your Electra One and ready to use.

When you turn the knobs or touch the screen on your Electra One Mk2, the controller sends MIDI messages according to the preset you have loaded.
The preset is now active and ready to control your hardware or software instruments. Before diving into the full User Guide, let’s take a moment to create your first Electra One preset.